I had been on the lookout for the perfect skirt to have as a wardrobe builder and base for some dress pattern drafting, and then it came: Sewaholic’s Hollyburn skirt.
Just after Tasia released the pattern, Rachel at My Messings hosted a sew-along, which I took part in. The pattern is for beginners, so I took the chance to work on some more advanced techniques.
My main fabric (wool/cotton blend from Goldhawk Road) was the perfect red, but had more drape than I wanted. It was also slightly sheer, so I underlined the skirt with light green silk organza. I used this ingenious, mind-blowing method, where you underline and finish the seams in one go, making it look like you’ve used a hong kong finish. This was quite difficult, as it required absolute precision. The seam allowances needed to be exactly 6mm, which was more difficult because the silk organza is so slinky dinky. Over 6mm, and the main fabric didn’t have enough space to lie flat once turned round to its right side, under 6mm and the finished binding was protruding the main fabric edge. If nervous (as I was!), go under 6mm, rather than over, because if your main fabric can’t lie flat after the underlining has been sewn on, you can go fishing instead. I did a test before which turned out perfect, but it was a lot harder with bigger pieces. I had eight seams to do, and I only felt in control the last bit of the last seam.
This will be an excellent method for skirts underlined with thinner cotton fabric, that won’t dance around as much as slinky fabric. The instructions do say that this can eliminate the need for lining! It must be one of THE best sewing techniques I’ve come across, as it save a lot of time and the result is better than a lot of harder techniques (once I’ve got more practice in!)
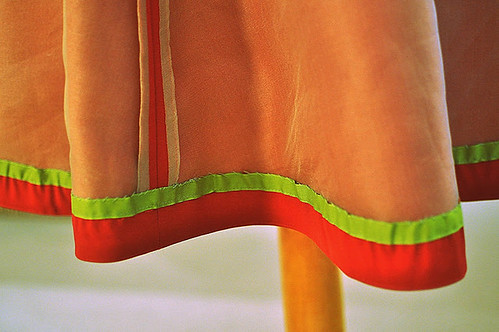
Faux hong kong side seam finish, and bound hem
Hemming the main skirt:
I made the hem allowance 5cm. I like to sew a seam one or two millimetres below the hem foldline, as it really helps when pressing the hem (it works a little like an understitch), especially because it holds the two layers of fabric together. Let’s call this hemline stitch.
I got help from Gertie’s perfect tutorial on how to hem a full skirt, and from this incredibly useful guide on all hemming.
Fold and press the hemline, making sure the hemline stitch is on the inside of the skirt. Just use the tip and only press right at the bottom of the hem.
Run gather stitch in sections along the edge. Place flat on ironing board. With a pin, pull up the stitches here and there to make the hem fabric excess lie flat.
Slide brown paper (with slightly curved edge) between front and hem. Steam excess as well as possible. I found that the silk organza stopped any shrinking, so I trimmed it below the hemline stitch, and it worked much better:
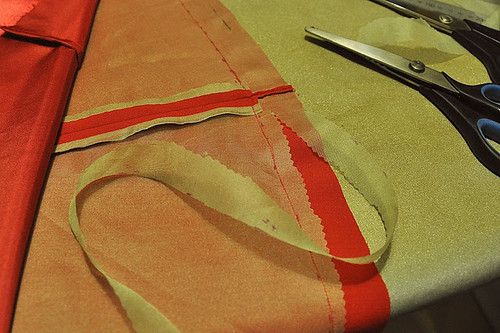
Trimming the silk organza to make steam shrinking the fullness of the hem possible
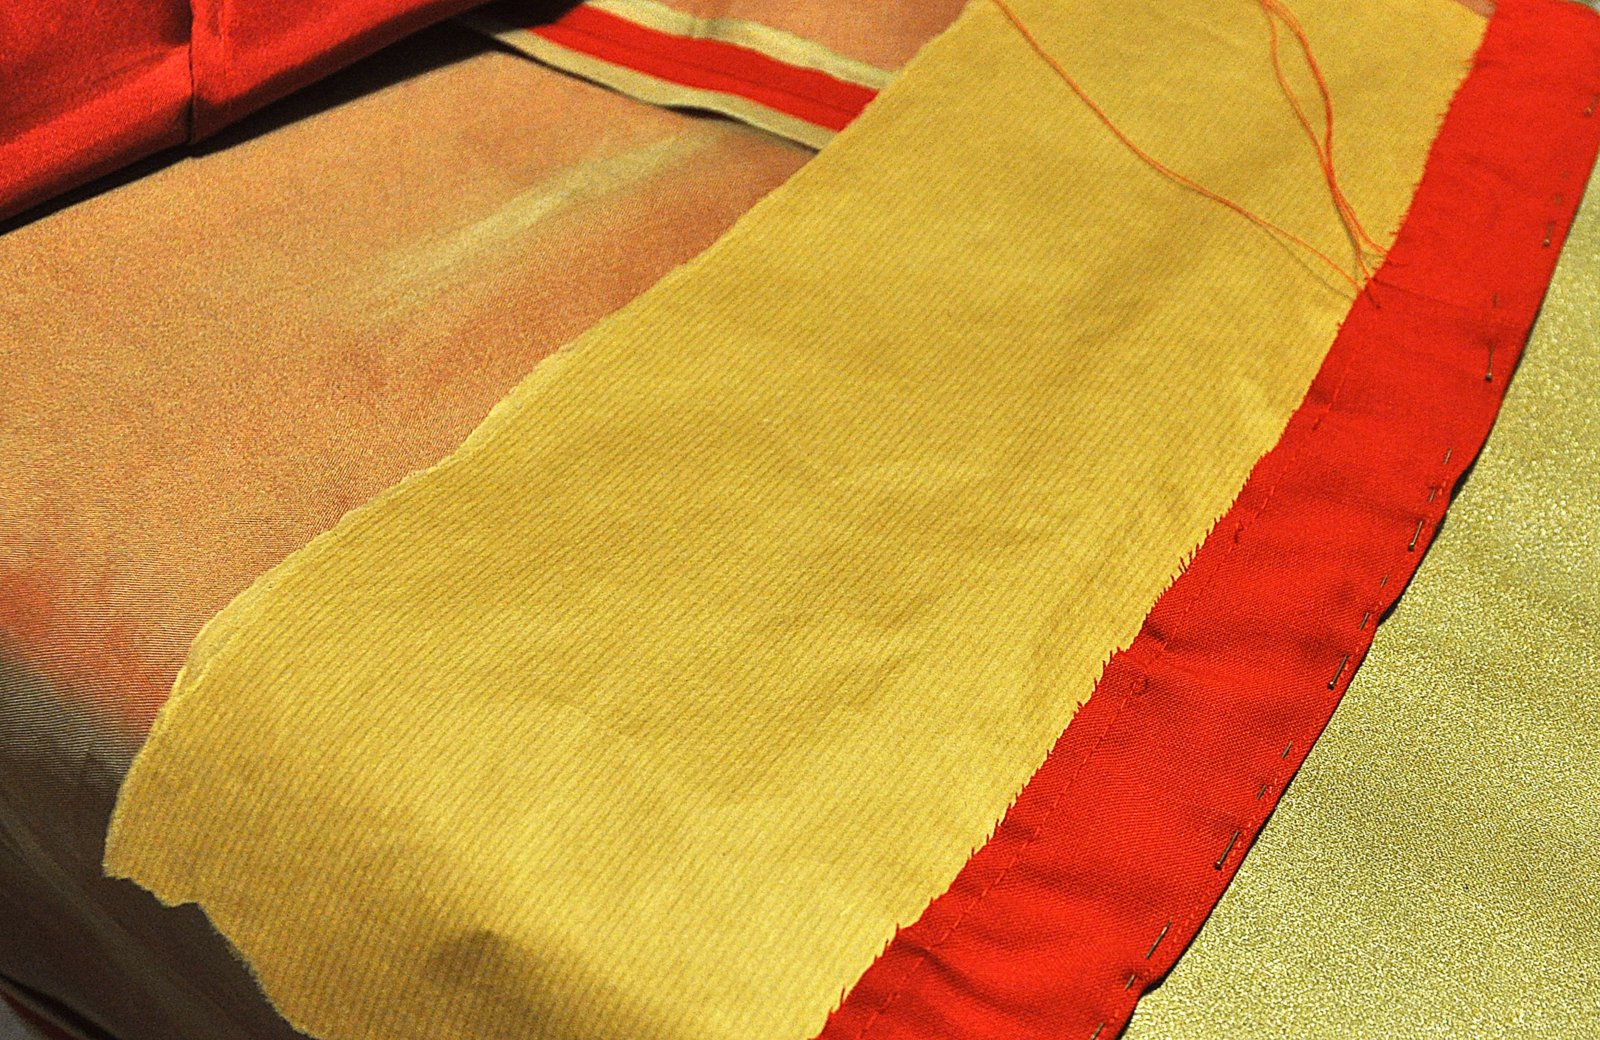
I pulled stitches to lay hem flat, inserted brown paper before steam shrinking
When I didn’t seem to be able to reduce the bulk any more, I hand-basted on the apple green seam binding, took it to the machine and sewed it on. I then hand-stitched it to the organza only (yes, the stitches that look like I roped in a five-year-old. Practice makes perfect).
I lined this skirt in red polyester satin. The pattern doesn’t include lining instructions, but Rachel covered it in her sew-along. Seams are finished with French seams (apart from the one where the zip will be inserted. I just zigzagged the seam allowances together – I SO regret this – I should have bound them with bias tape to match the french seams).
I inserted the zip according to the instructions/sew-along, but have to say I prefer my usual method sewing the whole seam, using basting stitch on the bit where the zip will go, press seam open, place the zip in centre, baste, the stitch in place, then remove the basting stitches. Even after I’ve finished this skirt, I can’t figure out if I need to do anything different because the skirt is lined. Time will tell.

Let’s call them faux pockets
Here’s the lining – oh dear. I cut it with the pocket indents as per the pattern! I had to stitch the bits back on, as I didn’t have anymore fabric. It’s now a design feature.
How to enjoy my Hollyburn:

Ah, the old bold colur / graphic black and white combo

Layered for winter.

Looks great!
Thanks!