Mad Men Challenge 2 – part 2: Construction

Moving on from the oh-so-much-FUN draping and drafting the pattern (read the full story here), next up is the construction. Oh, first up: choosing fabric…

After making the toile, ironing out any mis-matches, I went onto cutting the fabric. Fabric… I so wanted nice fabric, as I’ve been trying to up my game recently. I had either stretch woven fabric or double-knit in mind, but couldn’t for the life of me find any, especially in lots of plain colours. So I went to Simply Fabrics in Brixton and later to my local West-African shop on Rye Lane, Peckham, which are both brimful with a rainbow of poly-blends (£1.50/metre). It’s cheap by price tag, cheap by touch, but what can a hue-hungry girl do?

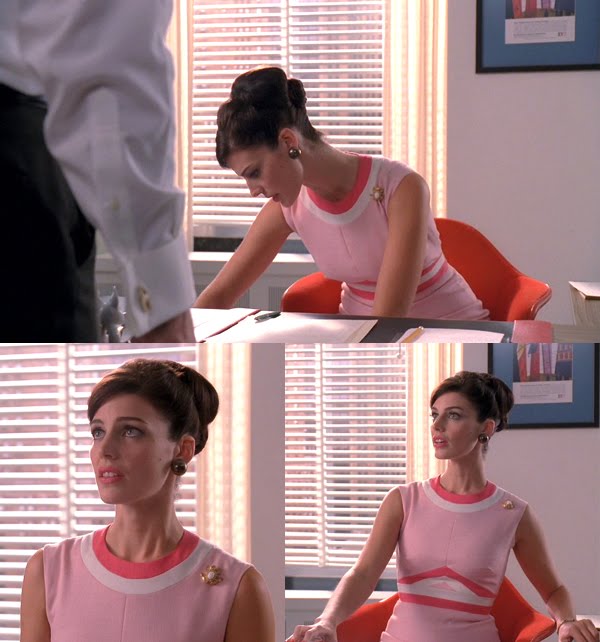
In Brixton I found a mustard tone, and decided that would be my main colour no matter what. Then paralysis set in. I must have stared motion-less for half an hour at all the rolls. WHY is it so hard to just pick three colours? I did settle for a stone grey and a greyish pink in the end, only because by then the shop keeper had asked 187 times if I needed any help and I was worried he’d call the Social Services (it only just dawned on me that I could have replied yes to his question).

At home, the motion-less stare continued, not helped by the trip to the Rye Lane shop with another bag full of more colours, as the grey and pink (for the neckline) made my face look like a dirty blotch-fest.

Must have gone through a hundred colour combinations -  these didn't cut the mustard

Must have gone through a hundred colour combinations – some of the ones that didn’t cut the mustard.

Nothing like a deadline though to get you moving. In the end I went for an off-white, the stone grey AND A DARK GREY I HAD IN MY STASH ALL ALONG. Now we can start.

Click the first image to start the carousel and see the full captions:

In words:

Let’s face it, the polyblend is just not nice to work with. At all. At aallll. It can’t take the iron heat well at all, and no steam allowed or it all goes ripply-gooey. I LOVE the pressing required when sewing, so that’s a real downer. It’s so hard to get anything crisp, boo. Little ripples is seen here and there near the seams, which steam would normally have taken care of.

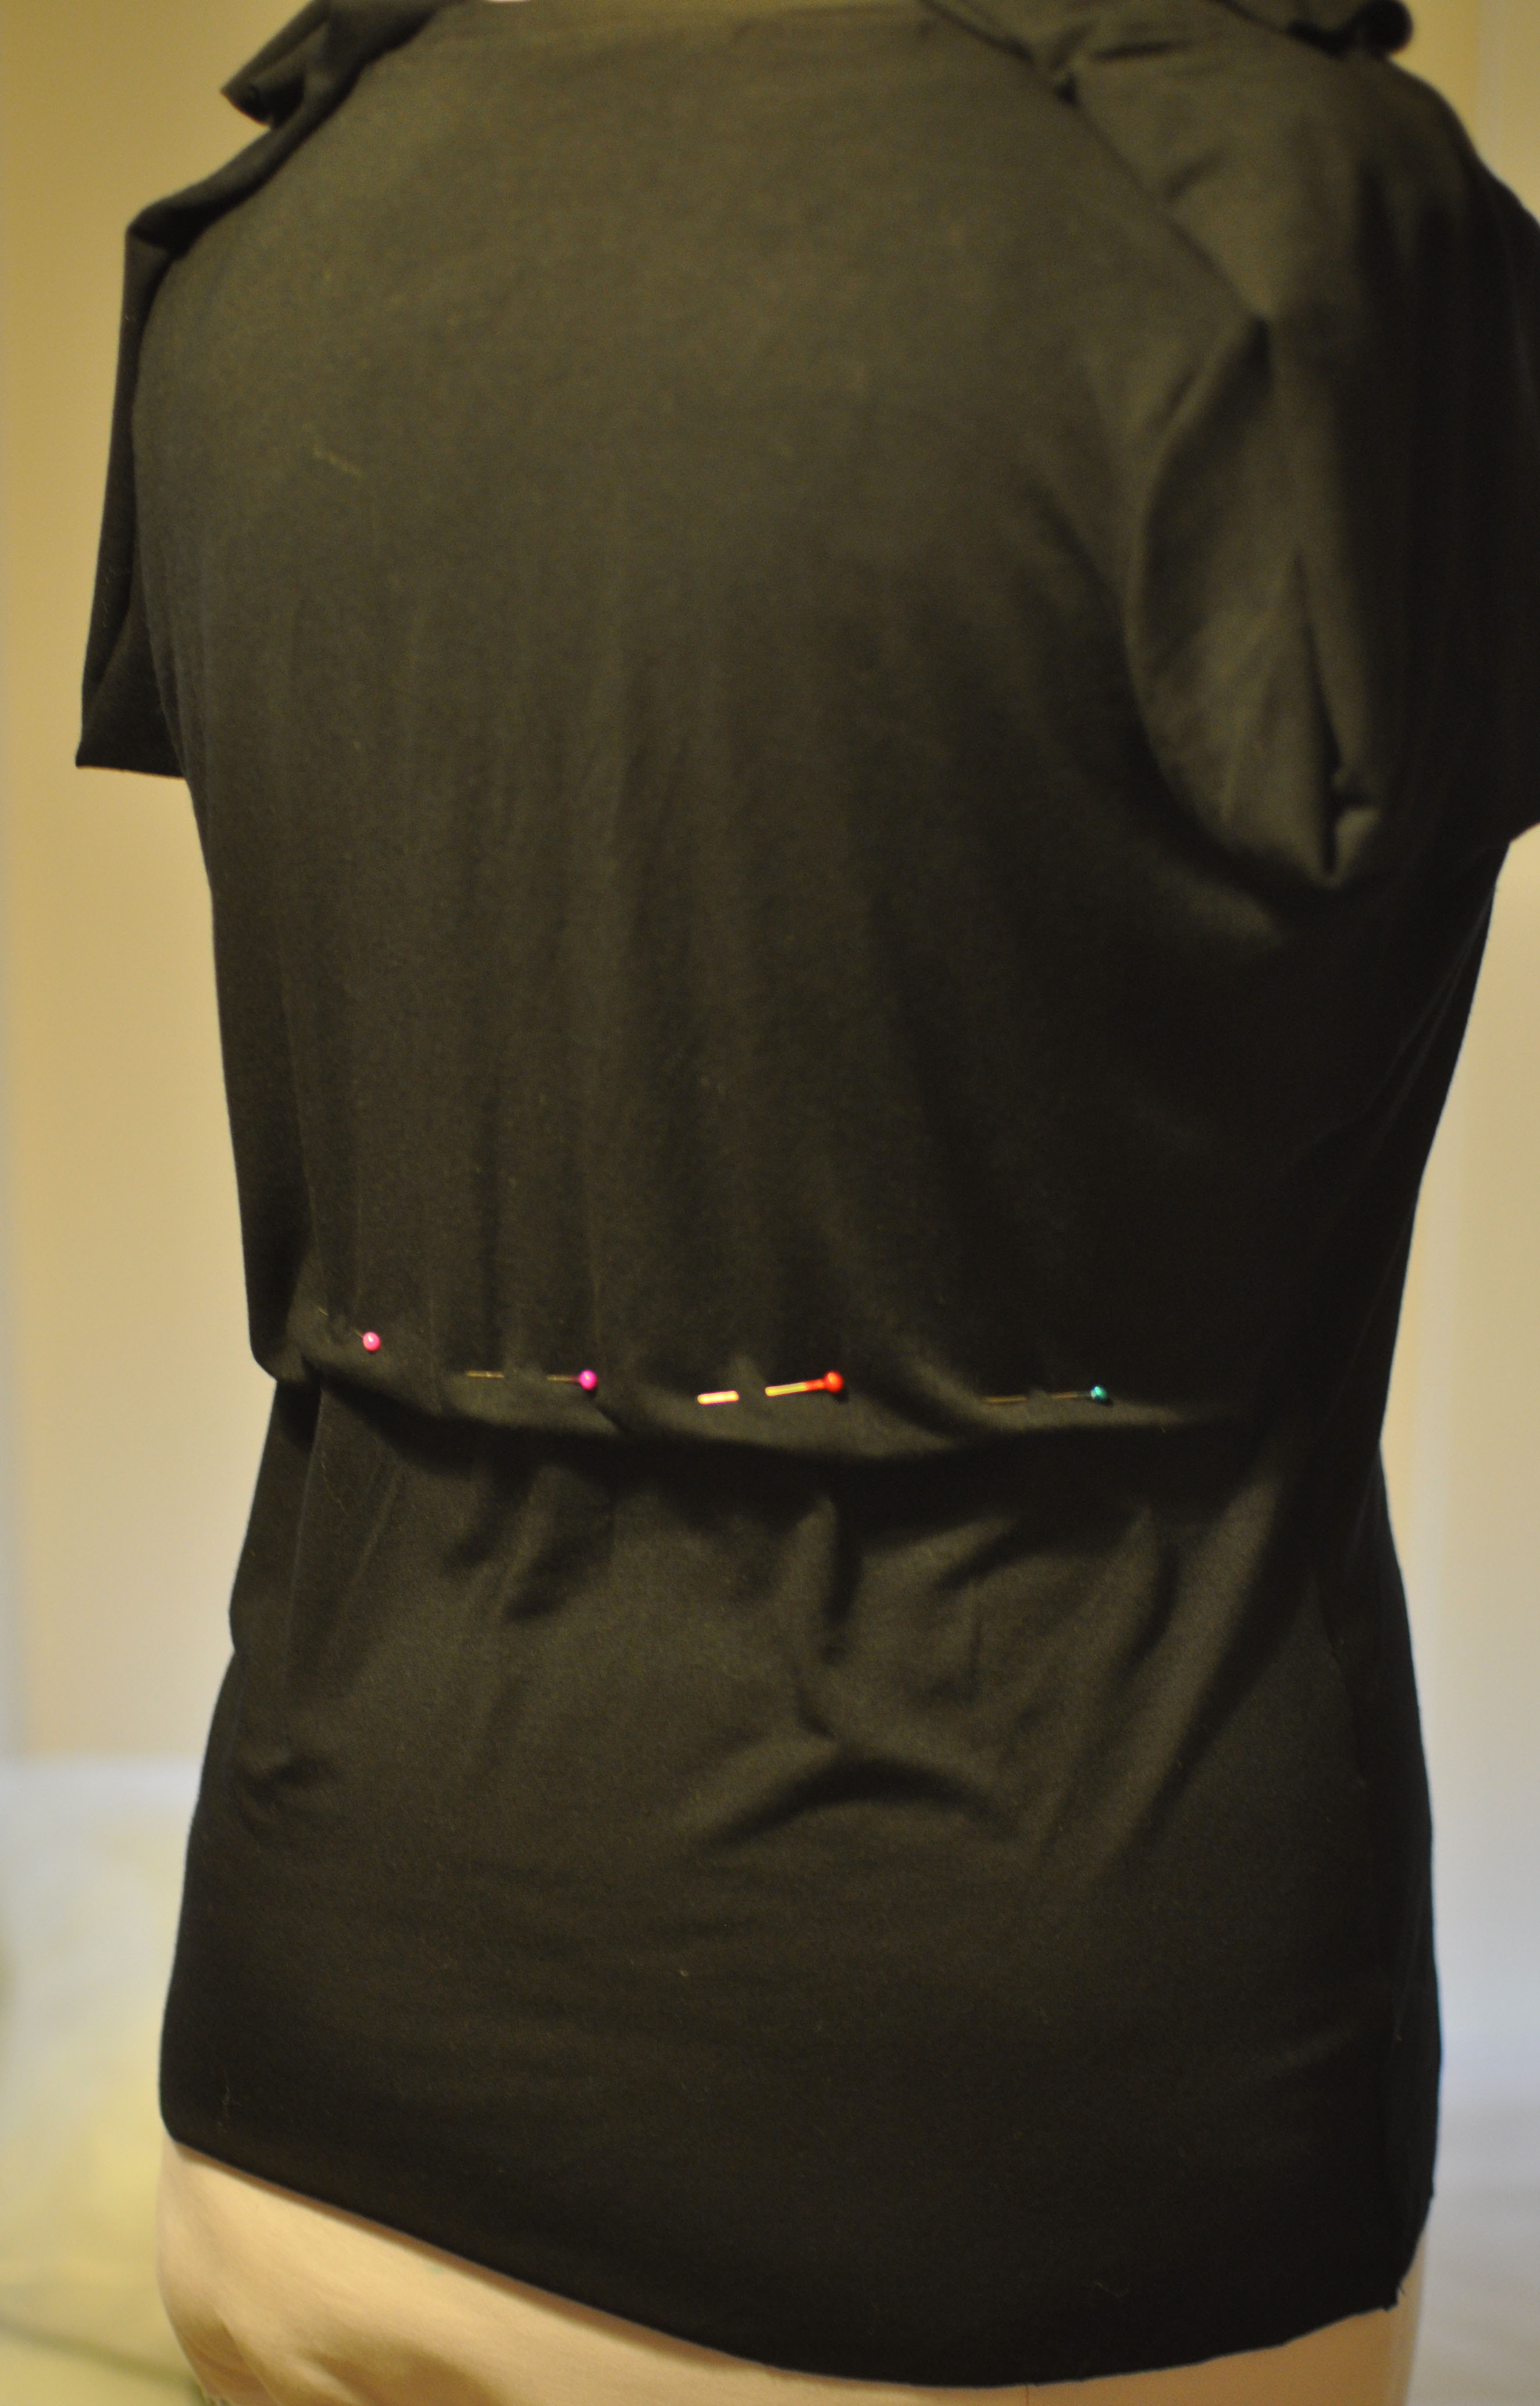
Super-proud of my pinning bits of fabric to each pattern piece to avoid stupid mistakes when cutting the fabric. Fifteen pattern pieces in all, see. I stay-stitched (from edge to centre, turn, repeat) top and bottom of every single fabric piece (21 of them – woah). The toile I made was so out of whack in the end it was like liquid, especially the neckline pieces, so I better had. It so helped!

As it turns out, the neckline was still flapping about like a good’un, even with the stay-stitch. So annoyed, as I could have avoided that by increasing the curve (I think). Putting the facing piece made it a LITTLE bit better, but my chest seems hollow above the bust and more care is needed for the future in this area.

In all the excitement, I never really stopped and thought of seam finishing. I just constructed along having a whale of a time, and just pinked away for speed. I don’t have an overlocker, but could have used a zig-zag, then trimmed the surplus seam allowance. I do think that could have stretched the edge though, which would not keep it crisp. So I just pinked the bejesus out of everything – it just feels sooo nice. I pressed all seams away from the white fabric to avoid them shine through.

Another thing I skipped all together was lining. I normally line with a nice-to-the-skin cotton, but I felt too lazy (I just re-typed that five times before deciding to tell you the real reason why I didn’t).

It all came together like a dream. I had a few places where the panels didn’t quite line up easily and perfectly, but we’re talking a millimetre or two. Even the invisible zip went in OK, lining up the different panels reasonably well. I ad-hoced a zip seam binding. Simple enough with bias tape, but it was a little tricky to keep it all straight. I am happy with the end result, as the binding gives the seam nice strength and support, I just need to stitch it on better, s’all.

I was hoping to line up the sleeve strips with the waist strips, and yep they do.

I had added 3cm hem allowance, but 2.7 of them must have gone fishing because it felt very short. So a simple narrow hem had to do the job. Love making them!

Woah, how long is this post?! Coming up: The Finale.

Advertisement

Mad Men Challenge 2 – part 1: Draping

So Julia Bobbin’s Mad Men Challenge 2 is the first project for me and my dress form Dollface. So exciting!

I’ve been draping on the stand instead of using and fitting a commercial pattern, and boy has it been liberating! The pattern stage has been like going to work as a ballerina instead of going to work ploughing an acrid plot of land the size of China with only an elderly donkey to help.

My inspiration choice had to be a design which made me need to chop up and manipulate the pattern. So far my makes have been mainly fitting a pattern, then straight onto construction.

So how about this little Megan number?:

Where did I put it? Oh here. No of COURSE I'm efficient, Sir.

I analysed the sections of Megan’s dress design, to work out the best way to knock-off this construction. Not too taxing.

With great gusto I gathered the Swedish tracing pattern, pins, scissors, knitting wool, ribbon, markers and Gertie’s drafting posts (Since then I’ve bought some PROPER designer tape!) and I went over to Dollface.

I tell you, I’ve had the best time ever. It was easy, fun and creative a la Kindergarten every moment of the way.

Click the first image to start the carousel and see the full captions:

In words:

I pinned bits of paper to the different sections one by one, drawing in the lines from the design lines. It’s so simple and intuitive. This paper is a good substitute for fabric: it behaves like calico, but you can see the design lines through – a real bonus.

I played around with the front bust darts, tried various positions until I settled for what I think might compliment the design the most. I NOW know that it was all too much to gather in just one dart, the angle at the bust point comes in too steep and the dreaded bullet boob was the result. I should have made a vertical dart towards the waist, that would have disappeared into the midriff section, just like the back top dart did.

Not shown in the photo carousel: I traced each pattern piece, truing up lines and curves with my French Curve and added seam allowances (1cm for the smaller pieces, 1.5cm sides and shoulders). I added 0.5cm ease in centre front (BUT FORGOT in the centre back), as unlike Dollface I sometimes need to reach things.

Oh yes, sleeves… tricky lil things, aren’t they? I followed two different tutorials showing how to draft one based on an existing bodice. This one is easy to do but gives a more basic fit. I wanted to compare, so I also followed this beauty (here, here, and here). I ran out of time but REALLY wanted to see where I ended up with following the most exciting tutorial I found (Softly spoken Sten Martin’s video), but maybe just as well I ran out of time, because the first two… please!

RULERS RULE!

RULERS RULE!

Both turned out with quite frankly ludicrous shapes! I treated myself to cut the second one (the one shaped like a frog jaw from underneath) in fabric and fitted on my muslin just so I could have a really good laugh/cry. It didn’t disappoint in THAT respect. I EVEN did a full bicep (a.k.a. fat arm) slash and spread alteration – why know when to stop?

Dodgy sleeves - bodice is the problem

I was convinced I had followed the tutorials right, which meant the problem was the bodice. Tricky! How am I supposed to know if the BODICE’s scye is OK – one inch more or less isn’t a big deal on the actual bodice?!

In the end I jumped off the learning curve and took a short-cut and just used my tried and true basic pattern (a 100% bastardised New Look 6808, but the armscye and sleeve has miraculously survived all attacks) to re-shape my new bodice. But who can resent 12 hours of trying instead of 10 minutes of easy solution?

Comparing with tnt pattern

I then called it a day for the pattern making stage of this project, and moved on to the construction fun.

Sewaholic Renfrew (1st round)

I’ve wanted a perfect t-shirt pattern for eons, to have as a quick sew fix and to keep my chest drawer full of grand colours to compliment my outfits.

So when Sewaholic released the Renfrew, I got it straight-away. Erm, it was released a few weeks ago, wasn’t it?

According to the envelope, I should be Bust 16, Waist 14, Hip 10. That’s one crazy, eighties’ bodybuilder triangle, so I cut Hip 14. I’m glad I did, the hip is the only thing that seems to be issue-less.

I used 4-way super-stretchy, thin knit from my stash, which is VERY silky smooth and comfy. This is against the pattern’s recommendations of stable knit, but hey, you use what you have. So this slinky-dinkyness will influence some of my fitting issues greatly, but here are my notes nevertheless.

Back like a waterfall in spring

Back is like a waterfall in spring

It’s way too big under the arms (although the armcye/sleeve is roomy and comfy, it’s more casual than I need my tops to be).

The shoulder is about 2cm too wide, making the sleeves hang over the shoulder edge.

Sleeves are sooooo long. OK, I just cut it straight from pattern without measuring at all, so silly me. I have to shorten them by nearly 6 inches! I feel abnormal. But good thing is I’m not a monkey.

Waist is OK, I don’t want to tweak that yet as stabler knit might change to fit and feel here.

The huge problem is the pooling of fabric in the small of my back. I always have to make swayback adjustments on all garment, but there’s never been this much pooling. I did start to pin the excess, but it just seems to be way to much fabric hanging from my upper back, width-wise, below my shoulder blades. But the upper back is fine, so I can’t simply say that it’s a size or two too big (or can I?).

Taking out the wedge will help some, but not fix the problem

Taking out the wedge will help some, but not fix the problem

I folded one of my favourite t-shirts (very fitted, and the fabric is similar) and LOOK at the difference!

Woah - about 6 sizes smaller?!

Woah – about 6 sizes smaller?!

So here’s my conundrum:

Draft the pattern straight off my favourite t-shirt (then grade up for when using more stable knits), but use Renfrew’s finishing techniques

OR

Work on the pattern’s fit, solving all the problems and be proud?

Thing is, I want to learn, even when my head hurts. But for a t-shirt? But then again, I have been meaning to teach myself a swayback adjustment without having to add a CB seam (using this incredible tutorial by Sherry), which Dixie also soldiered through, so I should take this opportunity to revv up the learning curve. If I just want a garment, I buy one – if I want a garment that fits and compliments, I make one, so I should put my money where my mouth is. But I’m also trying to pick my battles. Lots of people seem to have had the same comment of having to maybe do a swayback adjustment, but I can only find Dixie that has. Maybe there’s a reason? I’m too fussy? Not good at analysing the fit and identifying the problem? Maybe life’s too sho

Who knew a t-shirt pattern can make you break into a existentialist crisis.

This was supposed to be a quick fix as I’m recovering from a tonsillectomy, and before I take on Julia Bobbin’s Mad Men Challenge 2. I’ll just have to forget today ever happened, and start afresh another time.