Draping Desire Requires a Dress Form

It took my mum took 9 months to make me, and it took 3 years for me to make me.
Amazing. Mums are just so GOOD at things!

I absolutely hate how fitting commercial patterns kills my sanity and my love of sewing. To tinker with the fit every single time you open a new envelope, before you even get to the fun of creating a garment – no siree. I want to jump right to the construction variations and finishing techniques. The fitting issues were problems I wanted to solve only once. All tricks to get it right I find boring to follow. I KNEW a personalised dressform would cut to the fun and fancy bits straightaway (draping and simplifying pattern making).

I made a duct form (tape glue melted by central heating within weeks, became distorted and out of shape. It ended up in the dumpster. I presume someone saw it and called the police thinking they’d found a chopped up murder victim).

I tried a dials-galore dress form. No dials in the world, however, can reflect my crazy swayback, my not-so-pert bust with wonky-eyed bust points, my “protruding abdomen” – I’ll stop there. I also hated the plasticky flimsy-ness of it.

Finally I got a glorious display mannequin (£36 on ebay!!! Bargain! Different sizes, too!) with a polystyrene (PINNABLE!) body.

My mannequin base.(Click pic to see all my dressfom research Pinterest board and link to this seller)

My mannequin base.
(Click pic to see all my dressfom research Pinterest board and link to this seller)

I spent an obscene amount of time making a sloper with my exact shape. This is a long
story in itself. Just thinking about it, makes me breathe faster and shallower so let’s leave
the full story for now. But I ended up with a princess seam sloper in light lilac poly-cotton.
I didn’t treat the fabric with any starch or anything like that, and it has a centre front zip,
which made fitting, then stuffing, it as simple as it gets. I just pinned the bottom edge to the
polystyrene, so I didn’t even have to fiddle with a “lid”.

I put this sloper on the mannequin, padded out the difference, and all is forgiven. LET THE
DRAPING AND PATTERN DRAFTING FUN BEGIN!

Half decent!

Half decent!

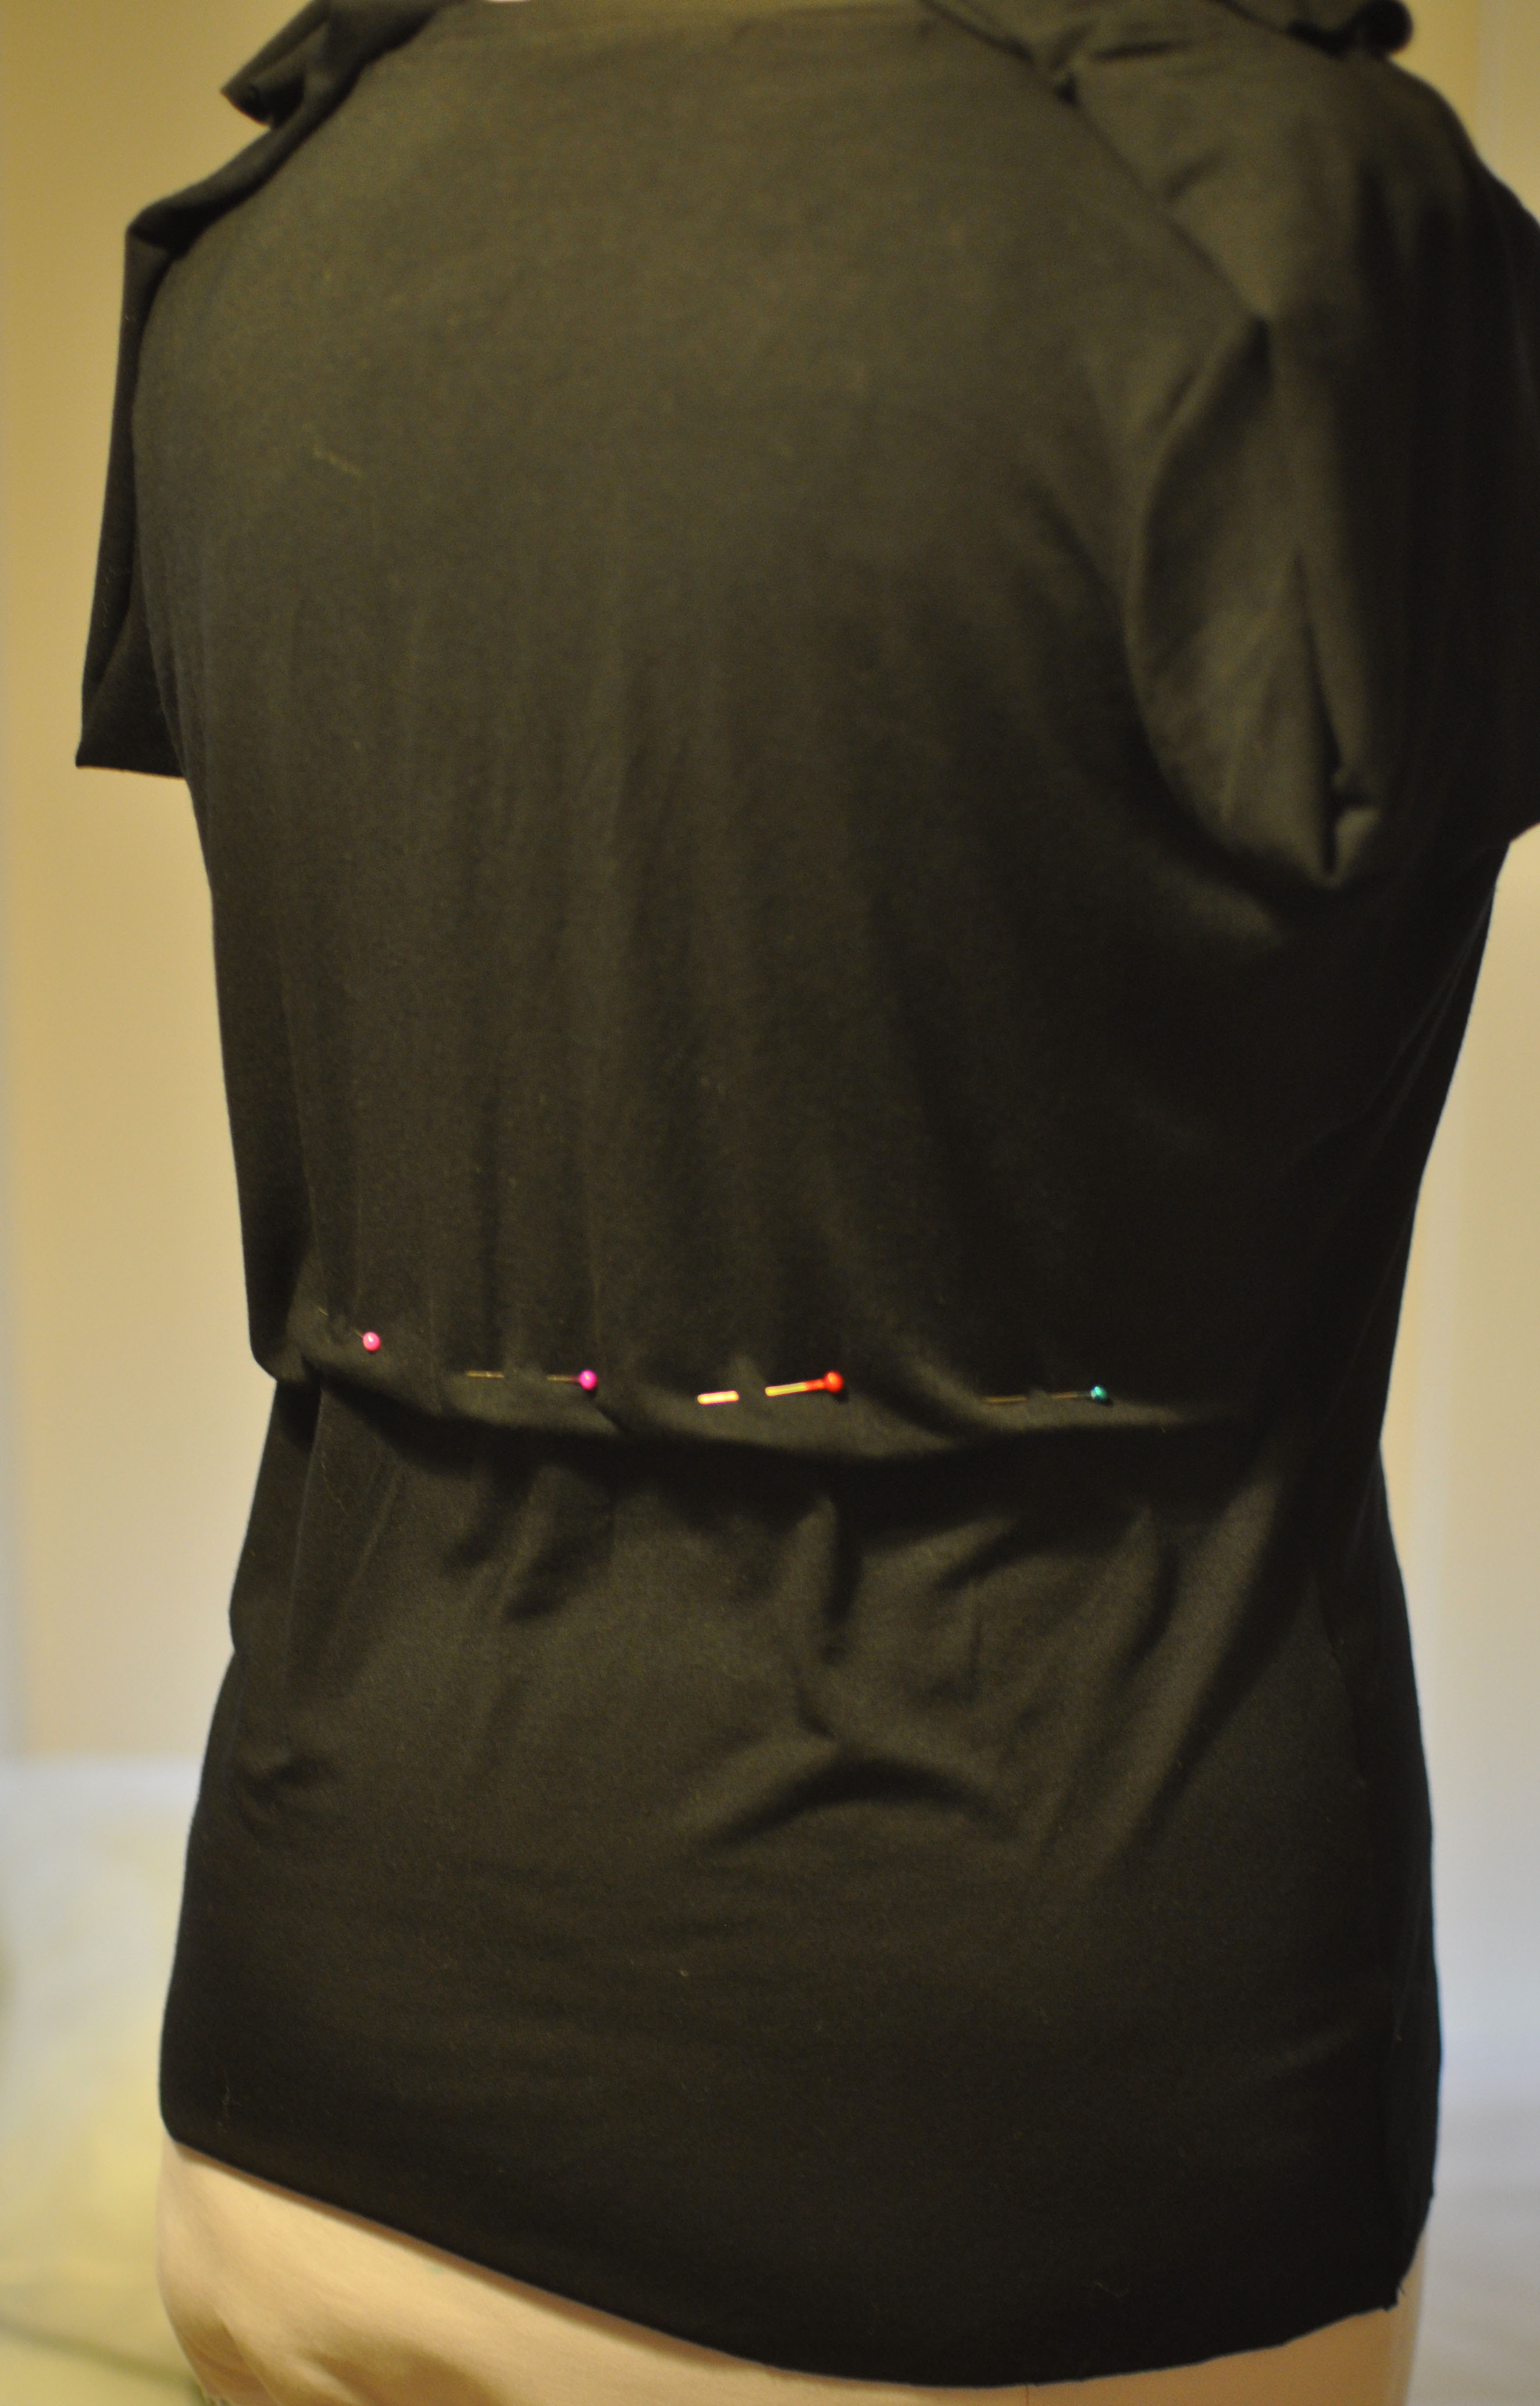
I wanted to prettify it, and bought a off-white stretch mannequin cover (ebay again). This is
what is seen in this picture. I noticed that the stretch was so incredibly strong and
squeezed the padding too much, which meant the measurements shrank (if you click the image and zoom in, you can see wrinkles underneath the stretch cover). It became nearly one size too small, darnit! So off the cover came at once. Maybe one day I’ll make my own, gentle jersey cover. It’ll turn up in a lot of photos from now on, pretty or not, because it works! It’s an absolute representation of me.

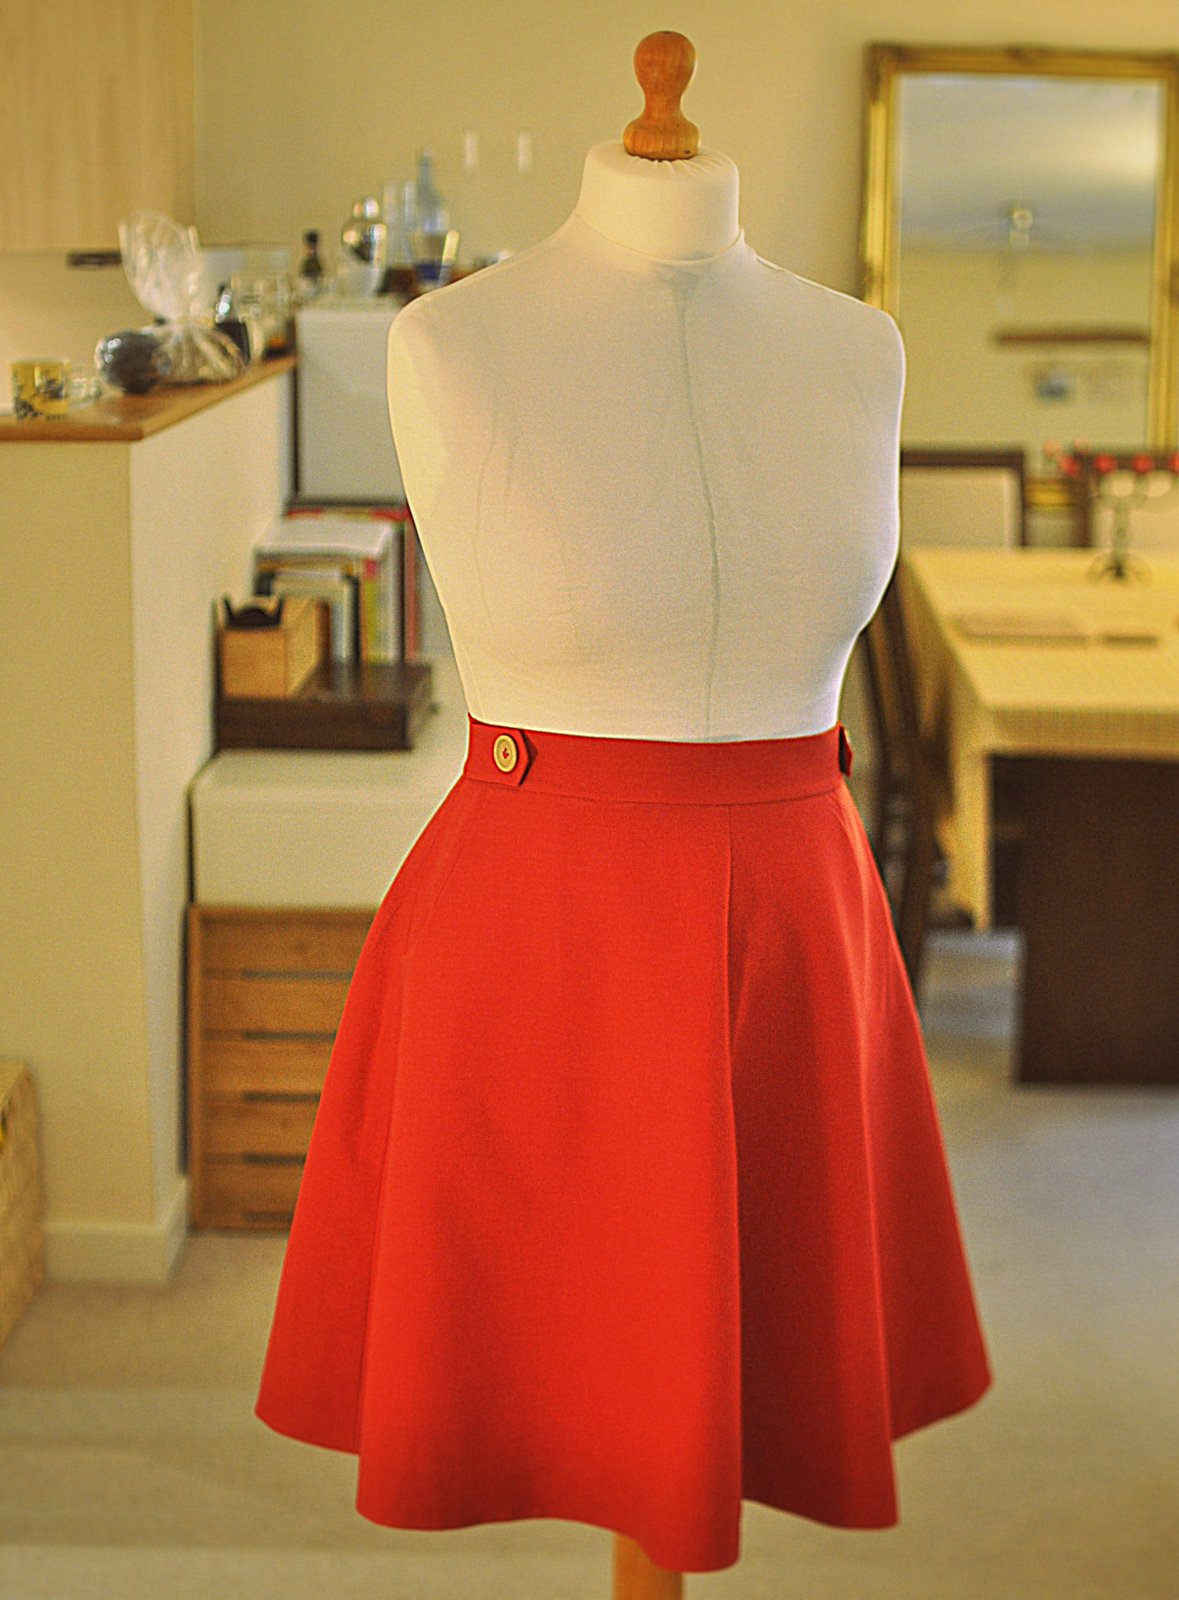
For now it is wearing my Sewaholic Hollyburn skirt (blogged here).

My research:
My Pinterest board for all sorts of solutions. There are a few great tips on how to make a
sloper quicker than tinker with fit from existing pattern – for instance the Saran Wrap
method (I never tried this).
I found particulary Ikatbag’s tutorial incredibly useful and inspiring. You see her muslin in
crazy fabric? That’s the equivalent of my lilac one, essentially. And instead of her home-made “skeleton”, I used the polystyrene mannequin and save about one hundred hours,
and I reckon it wasn’t even that much more expensive.
Since I finished mine, I spotted La Sewista’s tutorial. This is the only time I’ve seen
someone else finishing with a zip. I think that’s so so obvious! Who can squeeze in all the
padding while slipstitching the last seam? Amazing.

I’ll answer any questions on this, as every sewist deserve one of these, but no sewist
deserves to spend three years making one.

Advertisement

Sewaholic Renfrew (1st round)

I’ve wanted a perfect t-shirt pattern for eons, to have as a quick sew fix and to keep my chest drawer full of grand colours to compliment my outfits.

So when Sewaholic released the Renfrew, I got it straight-away. Erm, it was released a few weeks ago, wasn’t it?

According to the envelope, I should be Bust 16, Waist 14, Hip 10. That’s one crazy, eighties’ bodybuilder triangle, so I cut Hip 14. I’m glad I did, the hip is the only thing that seems to be issue-less.

I used 4-way super-stretchy, thin knit from my stash, which is VERY silky smooth and comfy. This is against the pattern’s recommendations of stable knit, but hey, you use what you have. So this slinky-dinkyness will influence some of my fitting issues greatly, but here are my notes nevertheless.

Back like a waterfall in spring

Back is like a waterfall in spring

It’s way too big under the arms (although the armcye/sleeve is roomy and comfy, it’s more casual than I need my tops to be).

The shoulder is about 2cm too wide, making the sleeves hang over the shoulder edge.

Sleeves are sooooo long. OK, I just cut it straight from pattern without measuring at all, so silly me. I have to shorten them by nearly 6 inches! I feel abnormal. But good thing is I’m not a monkey.

Waist is OK, I don’t want to tweak that yet as stabler knit might change to fit and feel here.

The huge problem is the pooling of fabric in the small of my back. I always have to make swayback adjustments on all garment, but there’s never been this much pooling. I did start to pin the excess, but it just seems to be way to much fabric hanging from my upper back, width-wise, below my shoulder blades. But the upper back is fine, so I can’t simply say that it’s a size or two too big (or can I?).

Taking out the wedge will help some, but not fix the problem

Taking out the wedge will help some, but not fix the problem

I folded one of my favourite t-shirts (very fitted, and the fabric is similar) and LOOK at the difference!

Woah - about 6 sizes smaller?!

Woah – about 6 sizes smaller?!

So here’s my conundrum:

Draft the pattern straight off my favourite t-shirt (then grade up for when using more stable knits), but use Renfrew’s finishing techniques

OR

Work on the pattern’s fit, solving all the problems and be proud?

Thing is, I want to learn, even when my head hurts. But for a t-shirt? But then again, I have been meaning to teach myself a swayback adjustment without having to add a CB seam (using this incredible tutorial by Sherry), which Dixie also soldiered through, so I should take this opportunity to revv up the learning curve. If I just want a garment, I buy one – if I want a garment that fits and compliments, I make one, so I should put my money where my mouth is. But I’m also trying to pick my battles. Lots of people seem to have had the same comment of having to maybe do a swayback adjustment, but I can only find Dixie that has. Maybe there’s a reason? I’m too fussy? Not good at analysing the fit and identifying the problem? Maybe life’s too sho

Who knew a t-shirt pattern can make you break into a existentialist crisis.

This was supposed to be a quick fix as I’m recovering from a tonsillectomy, and before I take on Julia Bobbin’s Mad Men Challenge 2. I’ll just have to forget today ever happened, and start afresh another time.

Girl At Sewing Machine (1921) – Edward Hopper

Girl At Sewing Machine, 1921

Artist

Edward Hopper was an American realist painter. He was born in 1882 in Nyack, New York. He was raised in a middle class, Baptist family, mainly by his mother, grandmother, sister and even maid. He died in 1967. Hopper depicted contemporary America, capturing the feel and mood of the time. The main feelings in all his paintings are solitude, introspection, secrecy and silence, mirroring Hopper’s own personality. He met his future wife Josephine Nivison Hopper in 1923, who from then on would be his only model.

Painting

His oil painting Girl at Sewing Machine from 1921 depicts a young girl sewing by a window in a sunlit room. It appears to be in New York as we can see typical yellow bricks through the window. It is one of the first of many of Hopper’s “window paintings”. Hopper’s decision to pose a young woman against her sewing is said to be his commentary on solitude.

The painting measures 48cm x 46cm and is in the Museo Thyssen-Bornemisza, Madrid.

My fictionalisation

This is painted two years before Hopper met his wife. So who is this Girl at the Sewing Machine? I’m going to call this New Yorker ‘Betty’.

She seems young, perhaps 20 years old. She’s not married. She daydreams about Rudolph Valentino she saw in The Sheik the other day, and laughs at this new funnyman Charlie Chaplin. Out on the streets she can sometimes hear jazz, who has just reached New York from Chicago and New Orleans.

Her sewing machine is a treadle, a Willcox & Gibbs Automatic, which was a very successful chain-stitcher brand from United Kingdom.

Willcox & Gibbs Automatic

Willcox & Gibbs Automatic.
Read an incredibly detailed history here.

These were manufactured from 1857 (when the partnership began) to 1917. I’d like to think hers is from 1881, as it would then be as vintage for her as my Elna SU 62C from 1973 is for me.

One advert claims:
“Beyond all comparison, the HANDIEST Household Sewing Machine, Quiet, Elegant and Useful – it does the BEST WORK, and does it MORE EASILY than any other Machine – Hand or Treadle.
Testimonial: Miss Headdon desires to state that she has used Willcox & Gibbs machines for over 20 years, and she’s had the utmost satisfaction”.
(She’s also the one to send your orders to, so she would say that).

This machine is said to be tricky to use. Look how straight Betty’s back is: she is alert, concentrating hard on getting the seam straight and even. I can only hope she had the manual:

So what is Betty making?

The fabric is cotton, and has quite a bit of weight. God help Betty if it’s wool in this heat. Rayon is only a few years into the future. She will be hot in it, it’s a glorious summer, and she’s working in only her petticoat and is sleeveless. Luckily for Betty, breathless-making corsets are now a thing of the past.

Vogue, Harper’s Bazaar and The Queen are the fashion magazines for Betty. What she sees around her are loose waistlines (placed on women’s natural waists, but will in a few years have dropped considerably for what we now associate with the 1920’s), long hemlines, full skirts. Free, floaty, baggy styles. Although the zip had been invented, it was still all about buttons.

She has a copy of Pictorial Review, a magazine showcasing dress patterns:

She’s picked the apron dress (2nd page, top left). It’s going to be utilitarian, yet stylish enough for going about her daily business and perhaps Sundays spent in Central Park.

So long, Betty! Hope you can overcome your feeling of solitude and enjoy the decade that is the first one to emphasise youth over the older generations!

My paternal grandmother aged 18 in 1921.

My paternal grandmother aged 18 in 1921.